Home Project: An Infrared Photo Biomodulation Panel – Budget Build!

I build and repair various things. I am a member of the “Repair Cafe/Restart” movement where we fix things for people to reduce waste and bring items back into use.

So I am pretty good at making things.

This is a super-easy home build of an InfraRed panel for IR/red light therapy.

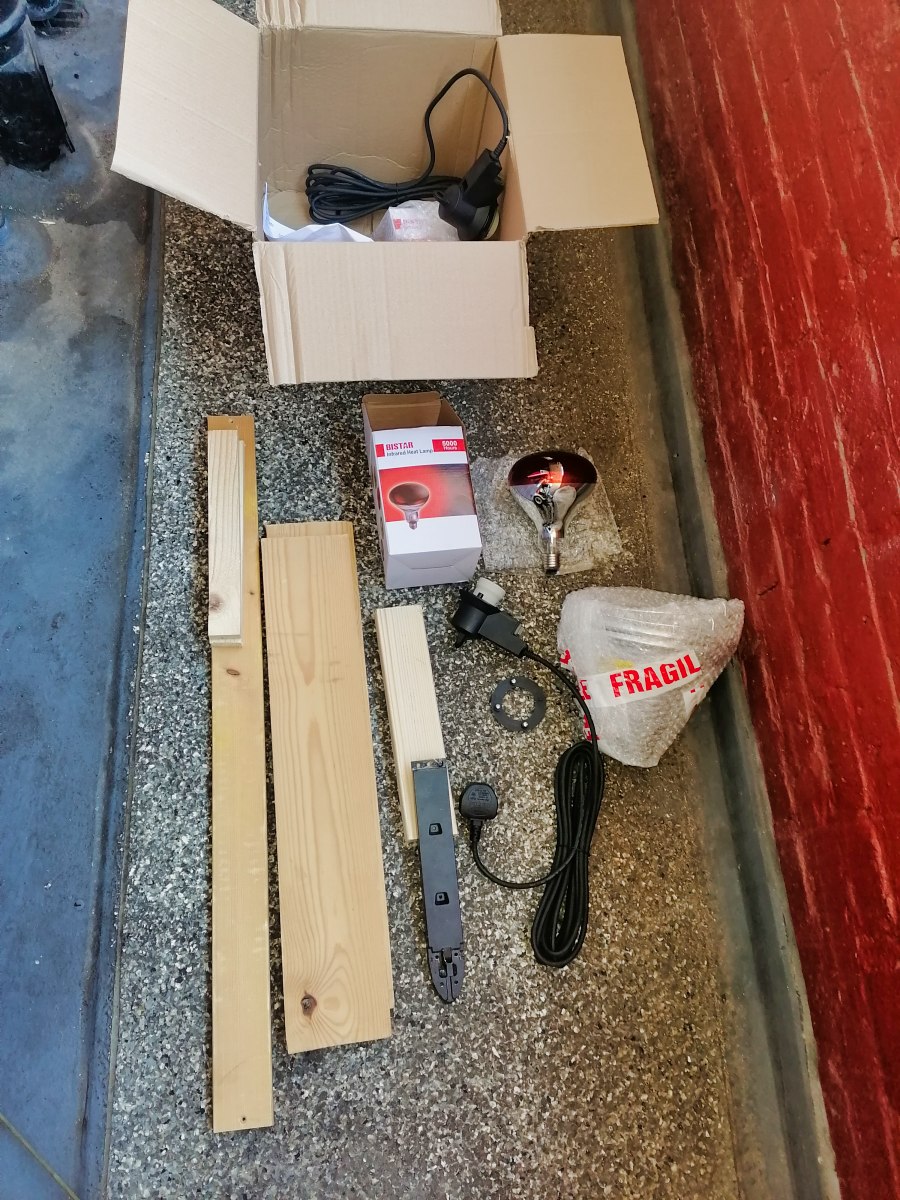
  1. Super cheap: total cost £25/$30/Eur 30 ish. Basically a fraction of the cost of a commercial panel. All reclaimed wood. Only the bulbs and fixtures were bought.

  2. Anyone who can put up a shelf can do this. You need no more than a drill, saw and something to cut the holes out plus pencil and ruler.

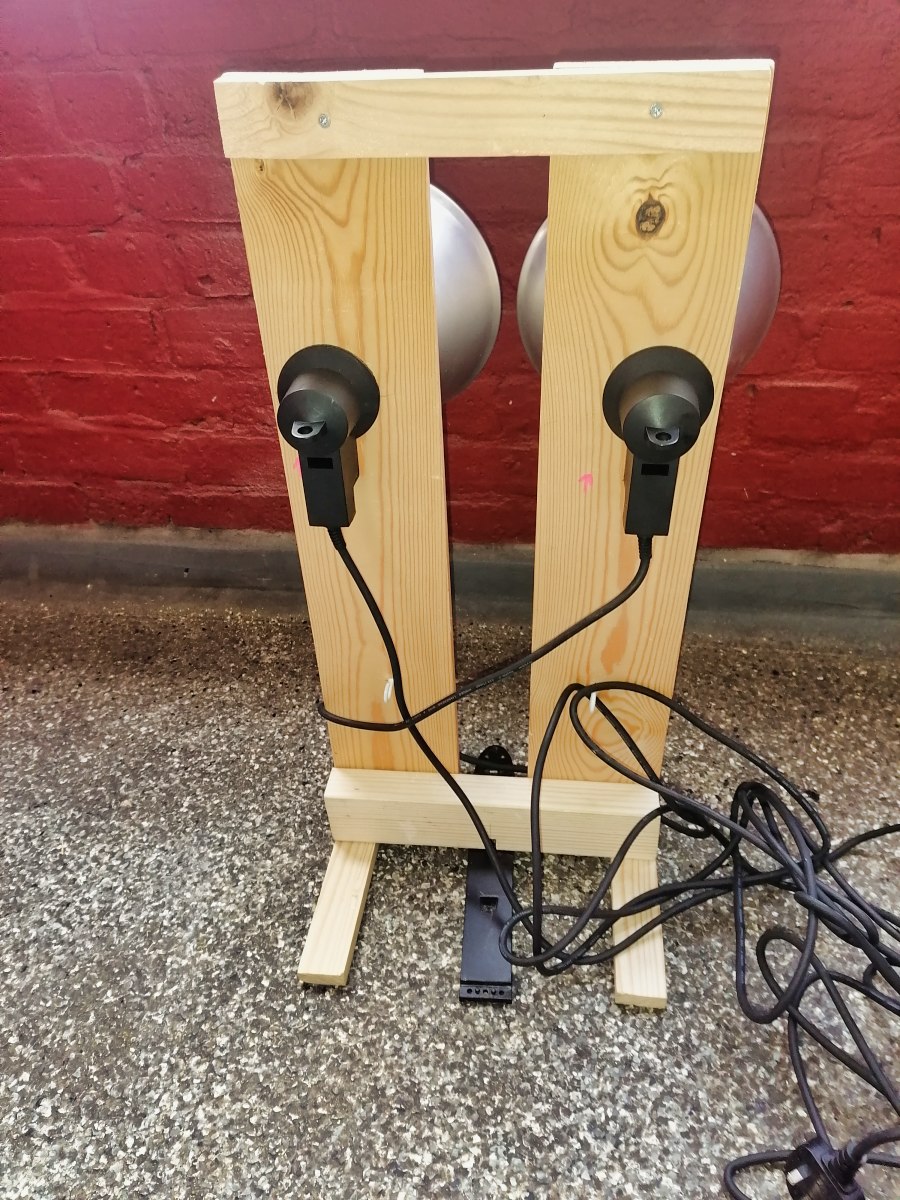
  3. Probably take 3 hours. I took longer because I was having fun so I did a mortice-and-tenon joint just for the hell of it. Added some cable tidy’s and things.

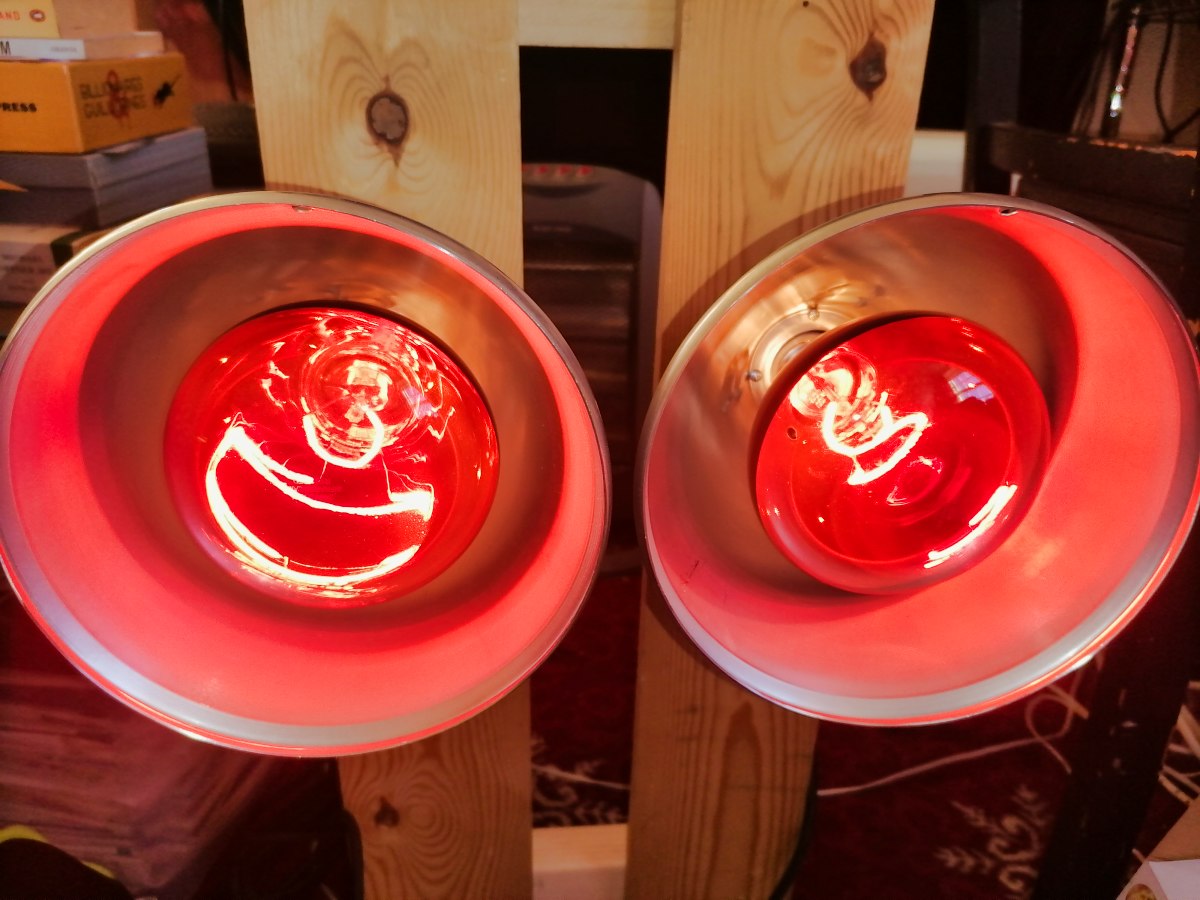
NOTE: I only bought 2 lights, although for better coverage you could use 3 or 4. I only did two as a test. The rig has space for two more in a diamond shape if necessary.

I have already felt the results with improved arthritis and RSI pain.

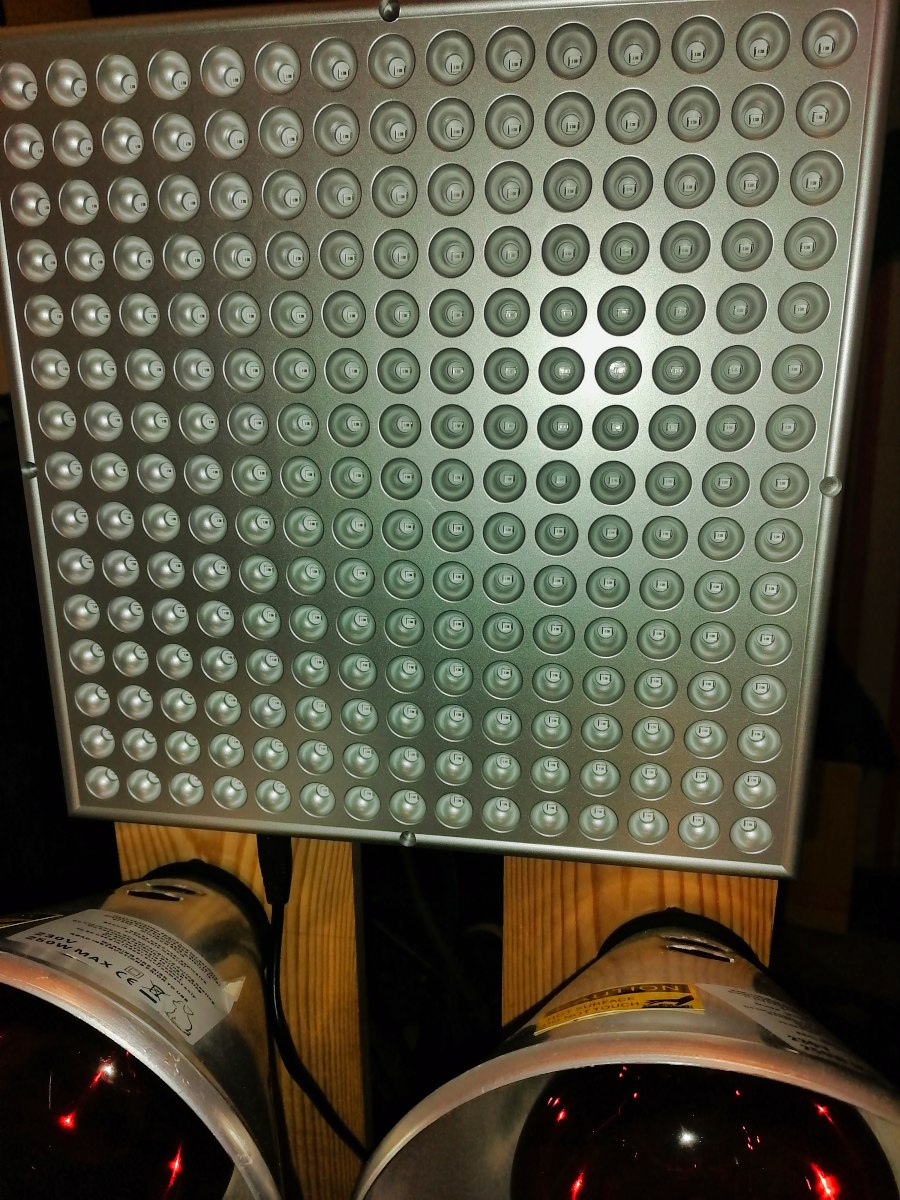
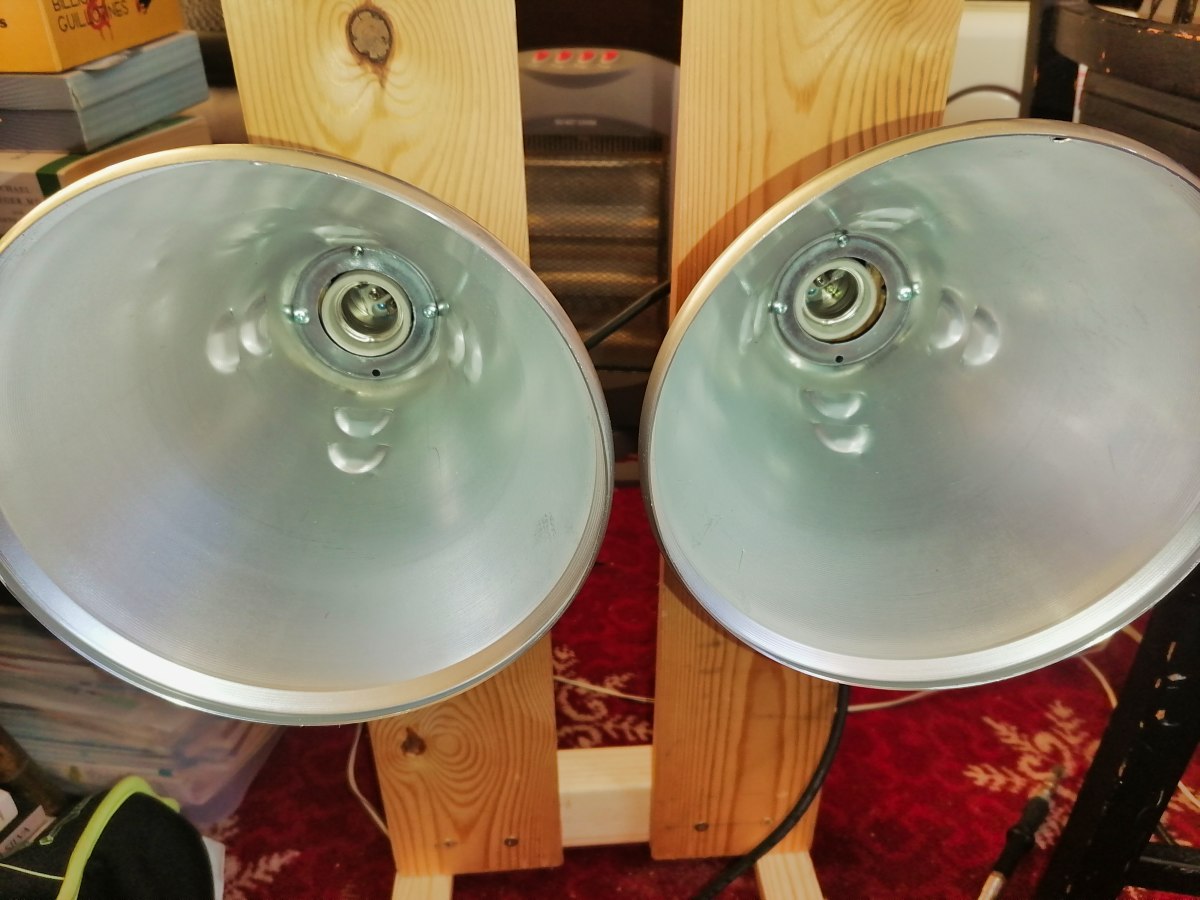
The lights I got here: 250 watt.

https://www.amazon.co.uk/dp/B018VZ7IPA

Similar in USA:

Amazon.com: ROVOCLO Heat Lamp for Chickens,150W Red Heat Lamp Infrared Light Bulb for Chicks,Chicken Coop : Patio, Lawn & Garden?

The Process:

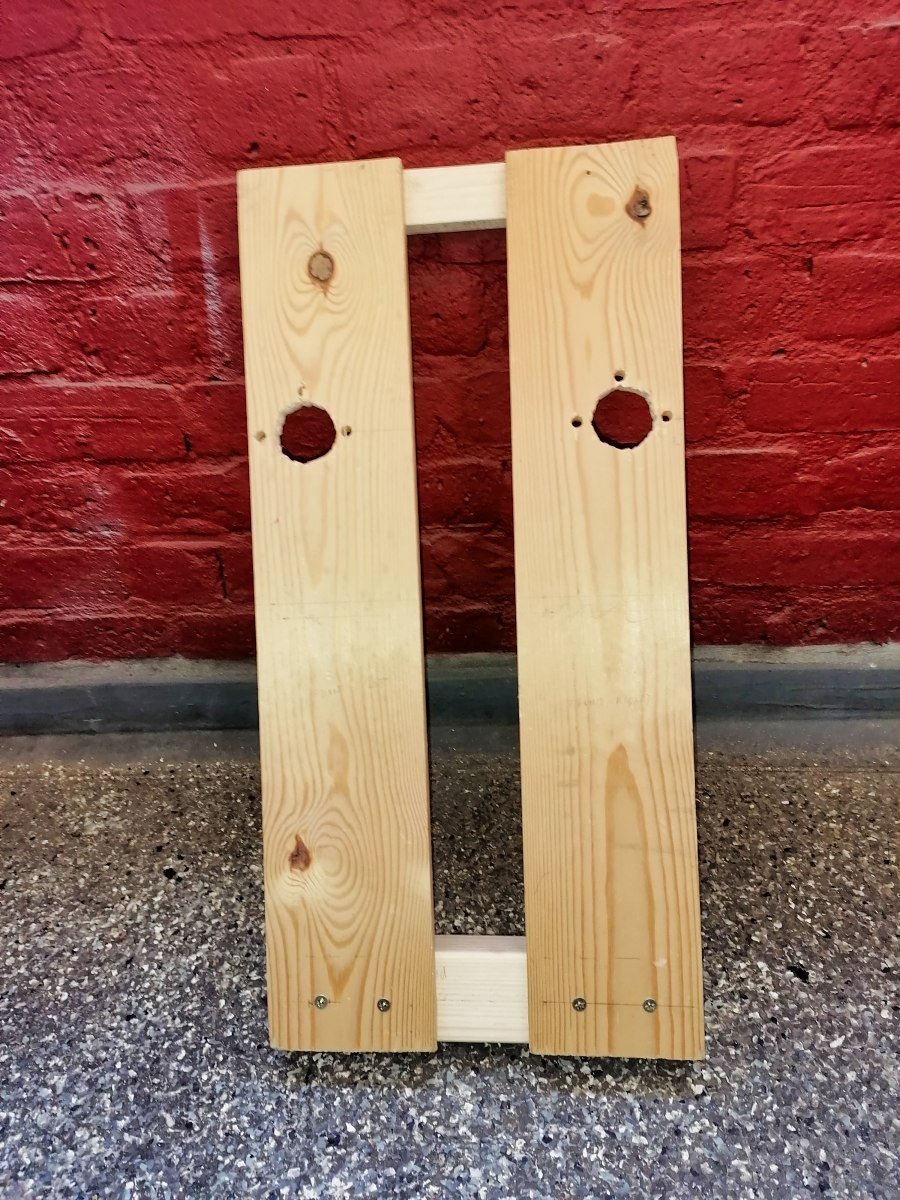
Basically I made a frame from UNTREATED WHITE WOOD. You cannot use varnished, painted or otherwise treated wood as the heat could outgas noxious stuff.

Height: 25in/66cm Width 12in/30cm Depth 12in/30cm

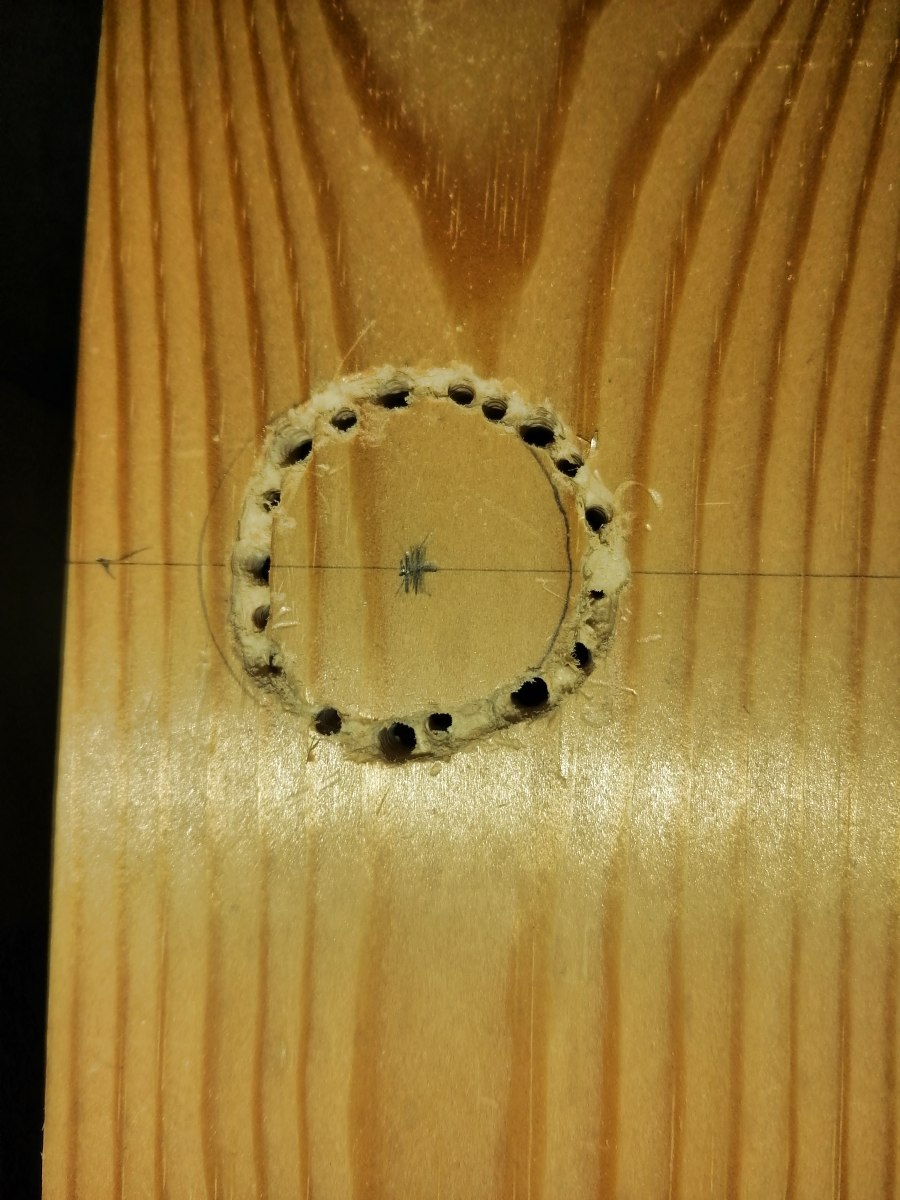
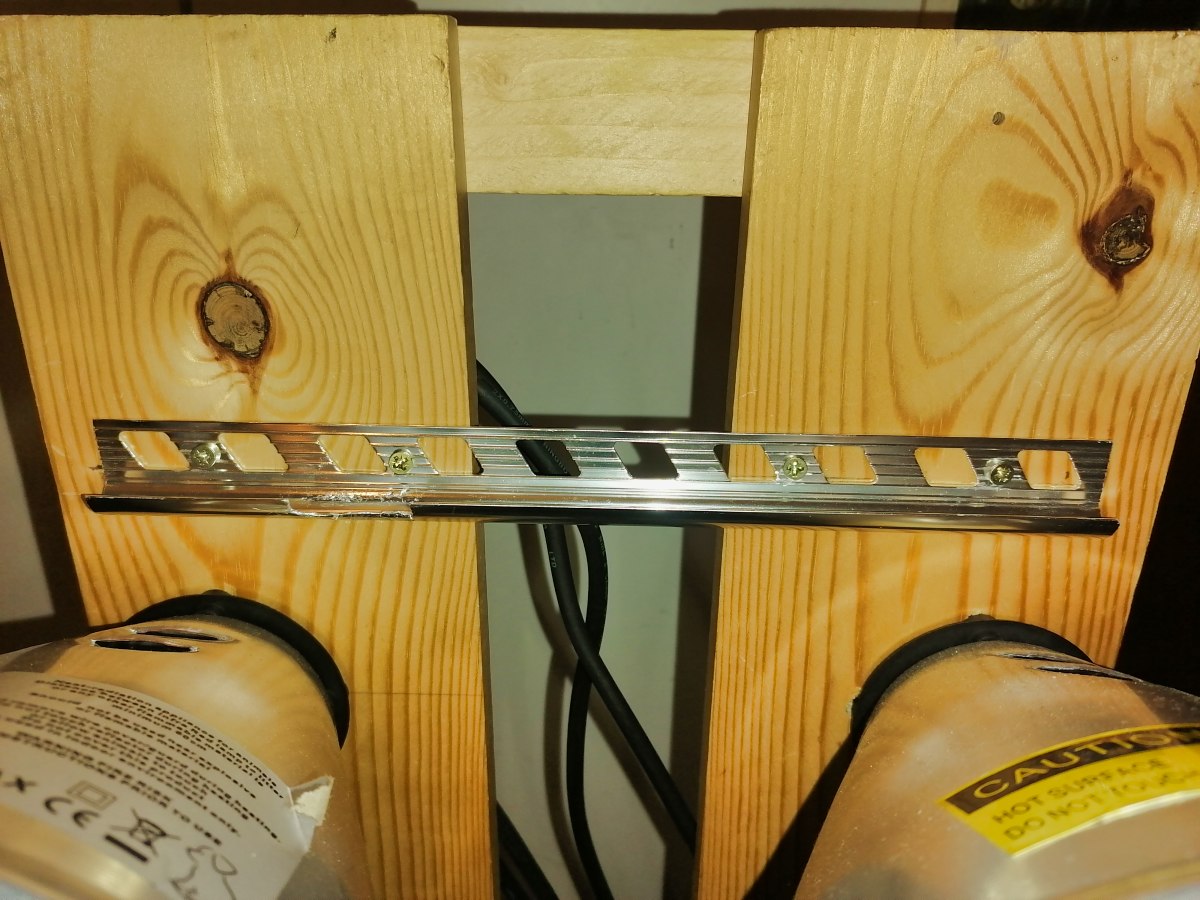
I made a rectangular frame, drilled then chiselled out two holes in it and screwed it together. I had envisaged having to wire the electrics together but if you get the design of bulb above it is a unit so that is not necessary.

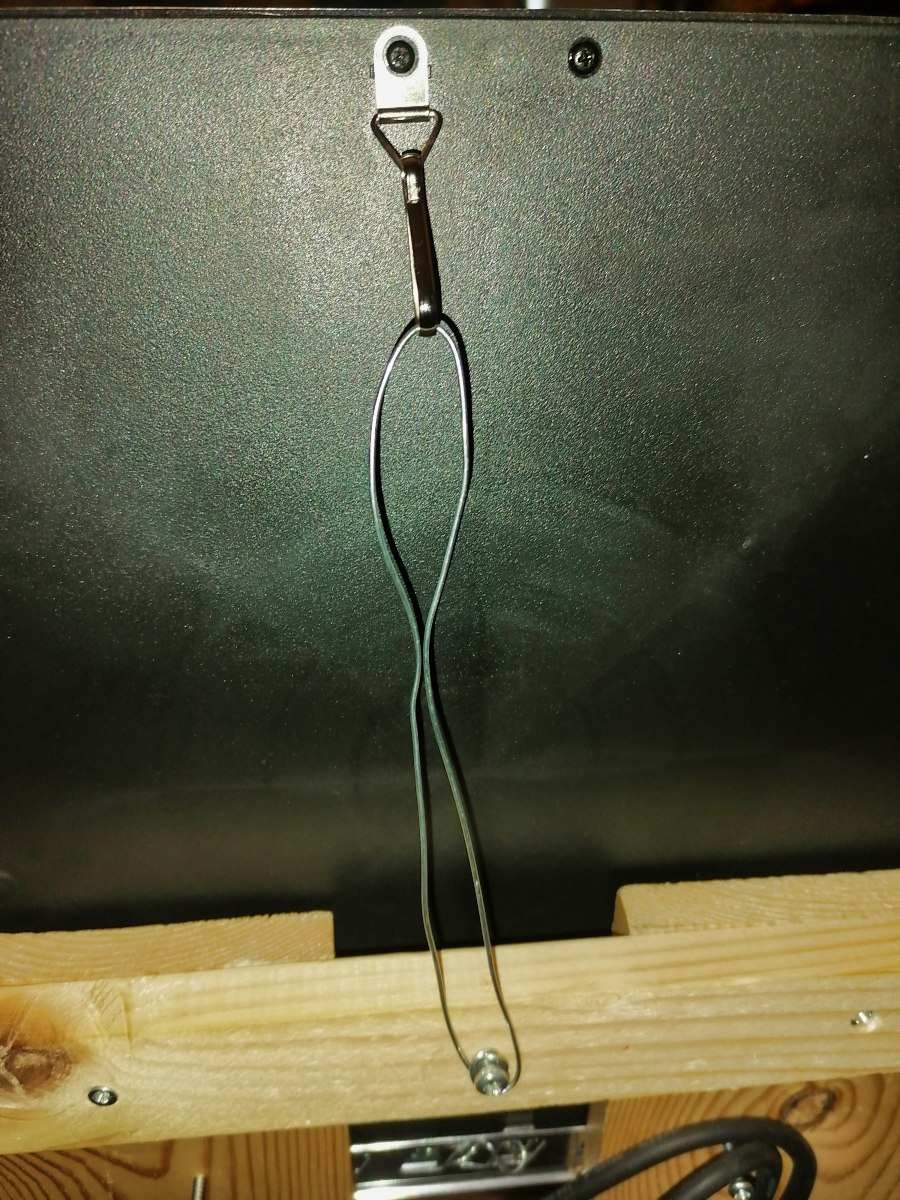
I put three feet on the bottom: two wood slats and a heavy metal support from a broken TV so it is bottom-heavy to balance out that the bulbs are towards the top.


NOTE: The bulbs do get hot. They came with guards, which are a bit rubbish and fall off, so I am going to make my own safety guard from garden mesh wire, which will be more compact. I do wear sun safety goggles when using it.

Conclusion:

This is super-easy to make, cheap and allows you to experiment with IR and Photobiomodulation therapy. Obviously I can expand this or use different bulbs if I want to in future.

9 Likes

You’re so close. Those bulbs just make heat. You need specific frequency range for photobiomodulation. Between 620 and 810nm is normal. Heat bulbs like that are way above 1000. You can buy the right ones and screw them in.

Understanding Light & Photobiomodulation: ARRC LED.

1 Like

The link you posted leads to a seller of LED IR panels. That’s hardly an unbiased source.

My panel is emitting some IR light of the appropriate frequencies. I’m going on Ari Whitten’s Ultimate Guide to Red Light Therapy, where he discusses IR incandescents, although he thinks LEDs are better. A site called Gembared.com actually tested a number of IR bulbs:

As you can see all of them are emitting NIR. I have also tested my own bulbs and I am confident that they are also.

That said, I am looking to add 1-2 extra bulbs and I will get better ones that have a published spectrum. This is an ongoing project.

2 Likes

Noticeable Physical Outcomes of DIY IR Panel

This is early days, as I have only used the panel for about 3 weeks (with a week break as I was away). The ROI is spectacular, given this is one of the cheapest things I have ever done.

What I was hoping for:

  1. Improvement in my knee arthritis pain
  2. Relief from back pain

Both of those have improved. I have been doing nothing else different to usual.

Improvements I didn’t expect:
3. Significant improvement in the RSI in my hands, caused by decades of hammering the keyboard
4. Significant improvement in the Reynauds (icy hands and feet) I suffer from
5. Some alleviation of mild pain from a damaged rib
6. Neighbour saw me, all wrapped up with only face showing: “Gosh, you’re looking well, what have you been doing?” I was in a hurry so I didn’t want to get involved in a long explanation.

So far this has been a hugely successful project, far outstripping my expectations.

3 Likes

The fact is unless you measure you will not know what frequency is being produced

“An Infrared (IR) Spectrometer (or spectrophotometer) is the primary instrument used to measure both infrared light frequencies (wavelengths) and energy”

This has been discussed in other threads on this forum.

I have measured the IR output.

2 Likes
2 Likes

Thanks for posting this. He’s crazy, but crazy good which is good. His fancy light is under $300 and goes on your desk to keep you from getting SAD. Northern dwellers such as myself should probably get one.

I’ve said it many times and most don’t hear. Spend as much time outside as possible and never use any sunscreen. Your body is made for it. Sunlight is good stuff.

3 Likes

I love this idea and the detailed specs of how to build it.

Just out of interest, how long do you use the therapy for each day? And do you stand directly in front of it or just have it on in the same room? I’d love to find something that would help with my Raynaud’s other than carrying around hand warmers!

Thanks for the kind words.

I totally sympathise with your struggles with Raynauds: it really is unpleasant during the winter. Nothing I’ve tried has had more than a minimal effect and it is gradually getting worse with age.

I am using the panel 1-2 times a day for around 10 minutes. Usually first thing in the morning and just before bed. I put it on a footstool and sit on the bed, then move around so it gets different parts of my body. About 15 inches 40 cm away. If NIR is like visible light the effect will fall off rapidly with distance.

Right now, about an hour after treatment my hands feel great. the effect wears off after a while.

NOTE: If you have pets or children you need to put a guard in front. I haven’t bothered yet, but I am going to make one soon: it will be flat out of garden wire mesh which will be much more practicable than the rubbish wire cones that came with the bulbs and fall off easily.

That’s brilliant, thanks Julian. Just before bed I suppose the red light in theory should also help with sleep. I’ve put red light bulbs in our bedside lamps for this reason. I just figured it couldn’t do any harm!

I’ve suffered with the Raynauds for as long as I remember (even at school we used to joke about trying to warm my hands up to absolute zero!). It’s a bit of a pain but manageable. The worst for me is my feet when going to bed. They are invariably like blocks of ice. The only thing that works is about 10-15 minutes with my feet directly on a hot water bottle (both sides).

I have often wondered whether it’s related to my familial hypercholesterolemia but my GPs don’t seem to think so and I guess it hasn’t improved even though my LDL is now super low with meds.

1 Like

Oh G - yes, the feet as blocks of ice. I wear thick socks to bed.

I am really pleased with the results so far: reduced arthritis pain in my knee and some improvements in other health challenges as detailed above. Normally at this time of year in the UK (cold and wet) my knee plays up and it is not fun. I’ve done some exercise this morning and am now typing this with no pain. I can’t see how this can be the placebo effect.

I’ve taken on board the discussions above about LED IR panels and their output, so I am going to add 1 -3 of those at some point in the future. I can get cheap ones from Ali in China. As I said in the beginning, the design was planned to be extended.

When I upgrade this I will post again with details.

3 Likes

DIY IR Therapy Panel - Mk2 - Upgraded version

I have now upgraded it with an LED IR panel, bought from China (AliExpress) for GBP22 = approx $/Eur 25. Total cost of project = less than 60 GB pounds.

I used a bit of aluminium found in my shed to support the panel and wired it in place using the attachment points on the back (though this works it is a bit unsatisfactory and I shall make it more secure in future). I have a protective grille for the incandescent lamps but haven’t fitted it yet as I wanted the new panel in place first.


I’m hugely pleased with this project. AFAIK this is the only ‘hybrid’ panel that combines both incandescent and LED lighting, so giving the benefits of both. There is still space to add another LED panel at the bottom if I decide to do so. The only potential issue I can see is the LED panel is very flimsy plastic and could get damaged if knocked so I might do something to protect it a bit.